Digital Foundry's guide to games media assets
Maximising the impact of screens and trailers
The final factor to bear in mind is the effect that screen-tear has on the quality of your final video asset. Games consoles update at 60Hz, and so a torn frame is displayed for 16.66ms. As internet video assets are typically supplied at 30 frames per second, tearing can look twice as bad as it actually is - any torn frames will be displayed for twice as long as they would be during actual gameplay.
Most trailers and game captures are captured and edited at 60FPS, with the final asset then downscaled to the internet standard 30FPS: literally every other frame is thrown away. The selection of which frames are discarded is entirely arbitrary (usually every other frame is dropped), which can have very serious ramifications for the quality of your video.
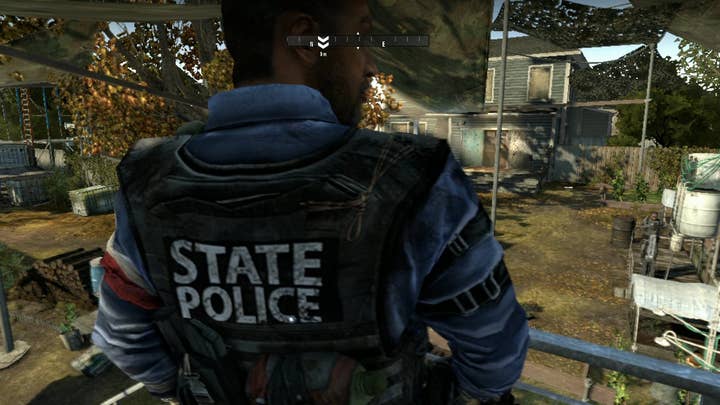
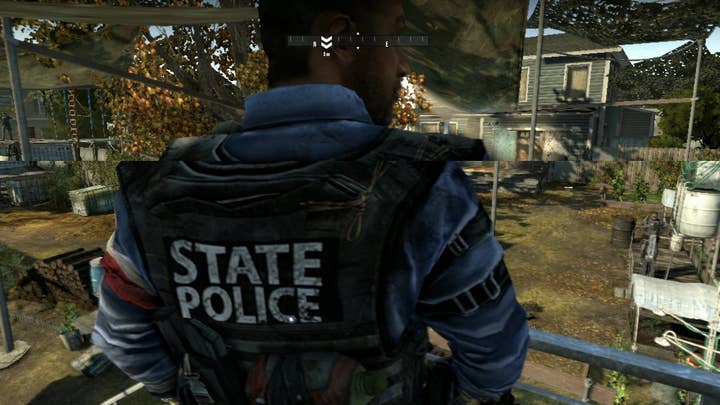
V-sync clean-up is built into Digital Foundry's performance analysis tools: since we can ascertain the exact point where a frame is tearing, it's relatively straightforward to then re-stitch the video into a coherent whole. Here's a comparison showing our tools at work, and the improvement in visual quality you get:
While our tools automate the procedure, there is a relatively painless way to do it yourself and at the very least remove the worst of the tearing artifacts before your assets are shipped off to the media.
The majority of console games operate at a capped 30 frames per second, dropping v-sync when frame-rate dips below that target. In this case, torn frames are always immediately followed by clean frames. Even if your editing suite is discarding the good frames in creating the 720p30 asset, it is still a relatively simple procedure to ensure that only the compromised frames are being tossed away.
The first step is simply to create your trailer as per normal and export your conventional 720p30 asset. The second step is to export (preferably in a lossless format, but ProRes or CineForm will do) a 720p60 video and then re-import this into a new editing project.
Place your video onto the timeline, then immediately below it, place your video down on a second track, with a one frame off-set (and turning off the audio) - literally just move the video along one single frame. Now, watch your 720p30 export, see where the tearing is most obviously visible and then simply cut those areas out of the top track on the timeline. Re-export and all the torn areas you identified should now be fixed.


If the game being captured tops out at 60 frames per second and exhibits tearing (Gran Turismo 5 and Bayonetta are good examples), then this technique won't work as the raw video stream will have consecutive torn frames. Short of a heroic effort in Photoshop operating on a frame-by-frame basis, you're stuck and solutions such as Digital Foundry's re-stitching algorithm really are the only way forward.
Of course, if you have a game that is running at 60Hz, that is a marketable selling point that cannot be illustrated with the limitations of streaming internet video. There's nothing stopping you streaming your own content at 60Hz, but as our experiments using the Flash player demonstrate fairly clearly, even at standard def, you cannot get anything like a reliable and consistent stream.
However, there is nothing to stop you providing 60Hz downloads from your own website or even from the PlayStation Network. While Sony's guidelines discourage the use of 60Hz video, there are one or two examples available to download on PSN - Housemarque's Super Stardust HD tips videos are encoded to the standard, for example. You can export straight from a Final Cut or Premiere Pro timeline directly into h.264 using Quicktime, but this is not the optimal solution for the reasons pointed out earlier: Apple is more concerned about video compliancy across its own devices than it is for getting the most bandwidth efficient encodes.
Our approach is to stick with x264 and use the StaxRip front-end. This provides a ready to run PS3 profile that targets all the strengths of Sony's decoder. Simply change the preset to "Placebo" to make the encoder do the most exhaustive search for bandwidth-saving motion vectors and then set x264 on its way. While max settings 720p60 can also be supported on the WMV files required for the Xbox Live Marketplace (Microsoft's own free Expression Encoder 4 is thankfully excellent and it's the only show in town), unfortunately we've yet to see a single example posted on the network: a shame, because the 360 decodes this standard with no problems at all.
Video game trailer production remains something of an arcane art - hopefully these tips will help in improving the quality of your final assets, and understanding what happens when they're "out there"...
